The Complete Plantation Shutter Measuring Guide
The easiest way to measure for plantation shutters is to assess the window first and take the order dimensions last. Identify the window style, confirm how much usable recess depth you have, note any architraves or projecting sills, then choose an inside or outside mount before recording width and drop.
This guide walks through the full process: identifying the window and recess, recognising architraves and sills, selecting the mounting method, allowing for obstructions, measuring the common inside- and outside-mount window types, and setting panel widths, custom panel positions and midrails.
Use the Design Centre alongside this guide as you configure the shutters. If the window type, mounting position or an obstruction is unclear, photograph the whole window clearly and send the image to us before placing the order.
In this guide
- What Style of Window Do I Have?
- Does My Window Have a Recess?
- Do I Have an Architrave?
- Does My Window Have a Sill?
- Inside vs Outside Mount
- Should I Inside or Outside Mount My Shutter?
- How to Measure a Recess
- Measuring Around Obstructions
- Measuring for an Inside Mount
- Inside Mount — Square-Set Window
- Inside Mount — Window with Architrave
- Inside Mount — Square-Set Window with Sill
- Inside Mount — Window with Sill and Architrave
- Measuring for an Outside Mount
- Outside Mount — Square-Set Window
- Measuring Outside Mount with an Architrave
- Outside Mount — Decorative Architrave
- Outside Mount — Window with Sill
- Outside Mount — Window with Sill and Architrave
- Measuring Panels
- Multiple Panels with Uneven Window Panes
- Measuring Custom Panel Widths
- Measuring for Midrails
- Measuring the Position of Your Midrail
Before you measure: check usable recess depth
For an inside mount, start by checking the shallowest clear depth in the recess. As a general guide, aim for approximately 70 mm of unobstructed space, measured only to the first handle, winder, lock, key, flyscreen or other fitting that projects into the shutter area.
If you have around 70 mm or more of clear usable depth, you can normally continue with the inside-mount measuring steps.
Less than 70 mm does not automatically rule out an inside mount. Frame choice and obstruction position can change what is possible. Check Handles, Winders & Other Shutter Obstructions before finalising the mount.
Identify the Window Style
Begin by identifying the construction around the window. Your measuring reference points will differ for a square-set opening, a window with an architrave, a window with a projecting sill, or a combination of these features.
Look at the entire opening rather than one edge at a time. Note how far the glass and frame sit back from the wall, whether a finished recess is present, whether trim surrounds the opening, and whether there is a sill at the bottom.
If you cannot confidently match the opening to one of these types, check the window-type guide before taking the final measurements.
Confirm Whether the Window Has a Recess
The recess is the depth between the front face of the wall and the window. When the window is set back from the wall surface, that setback forms the recess.
Recess depth determines whether the shutter frame can sit inside the opening. Do not assume the full physical depth is usable: handles, winders, locks, keys, flyscreens and other fittings may reduce the unobstructed space.
For a fuller explanation, read Window Recesses Explained for Shutter Measuring

Identify the Architrave
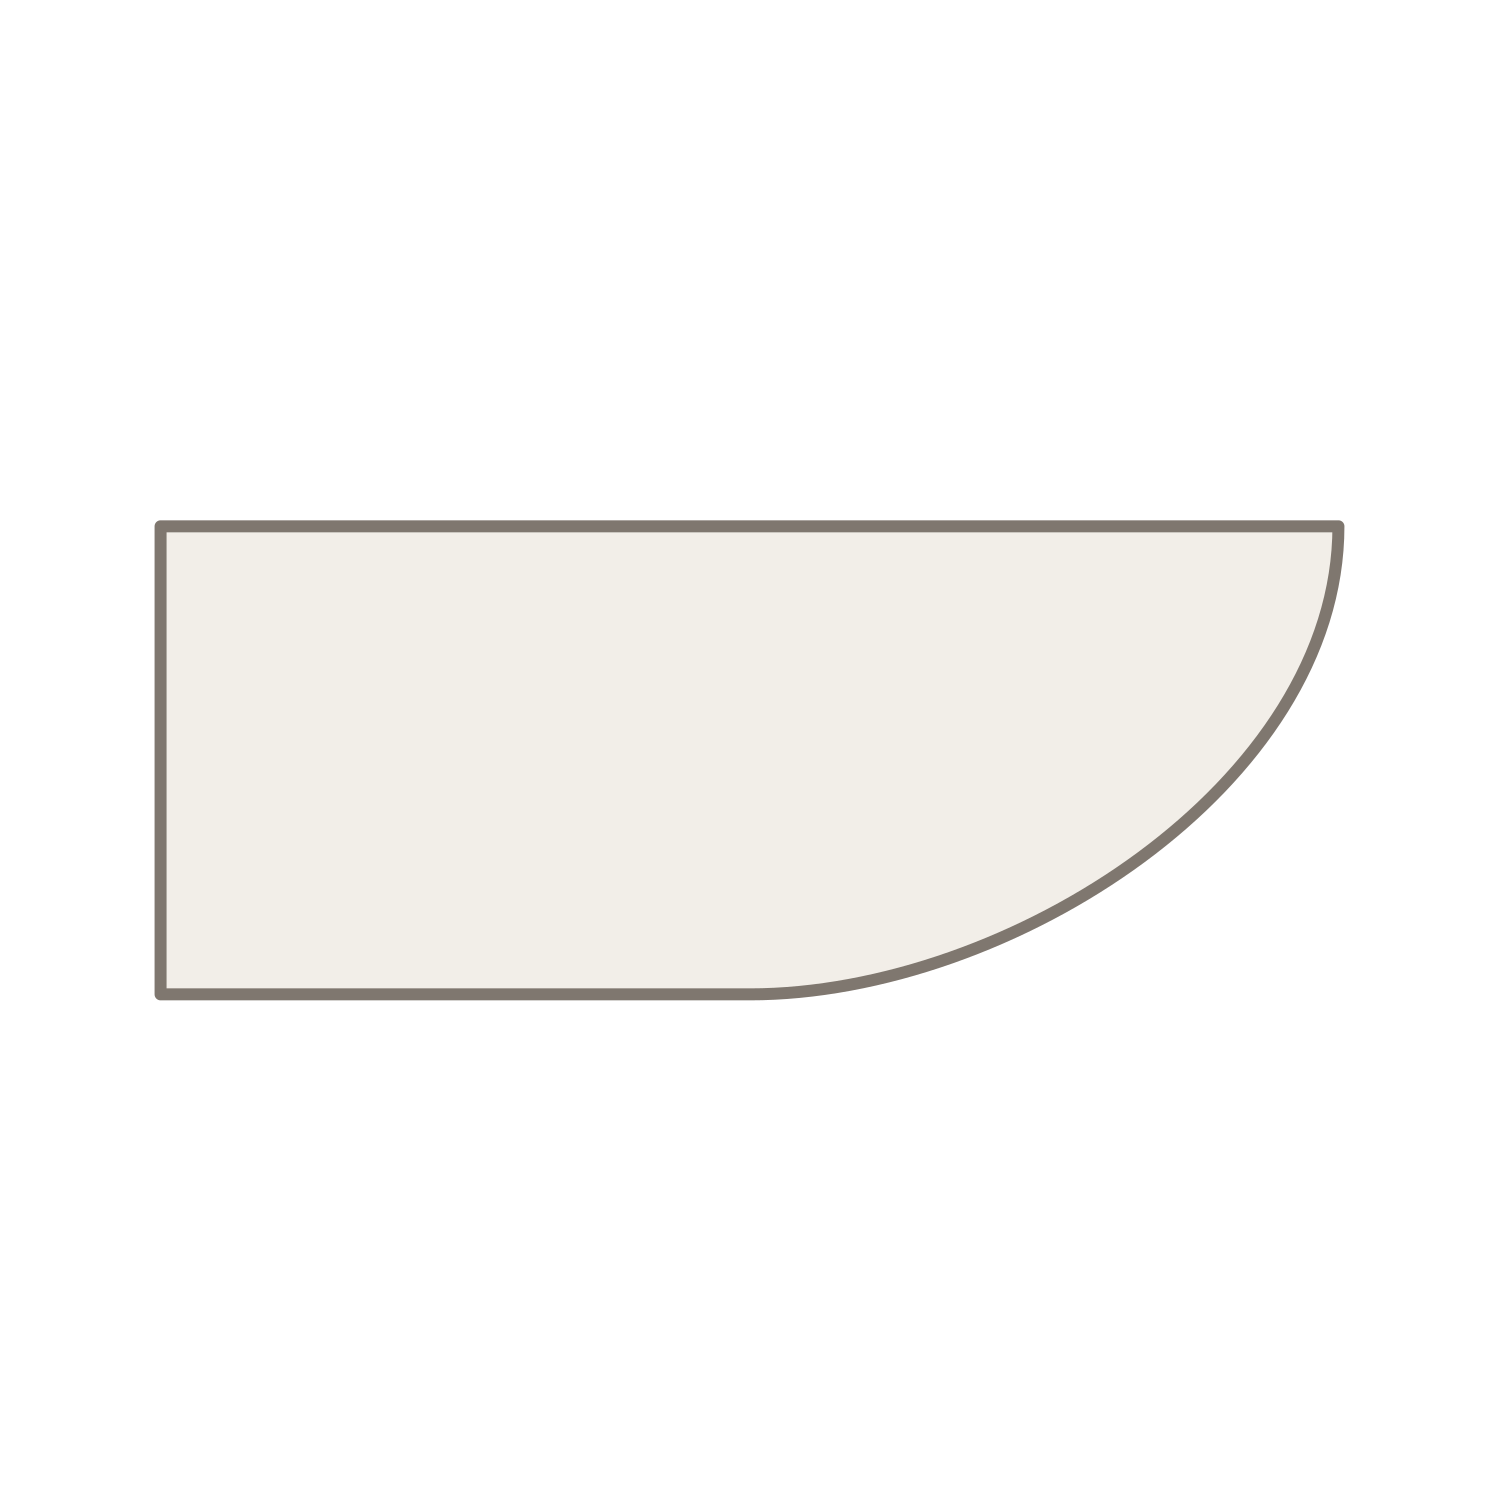
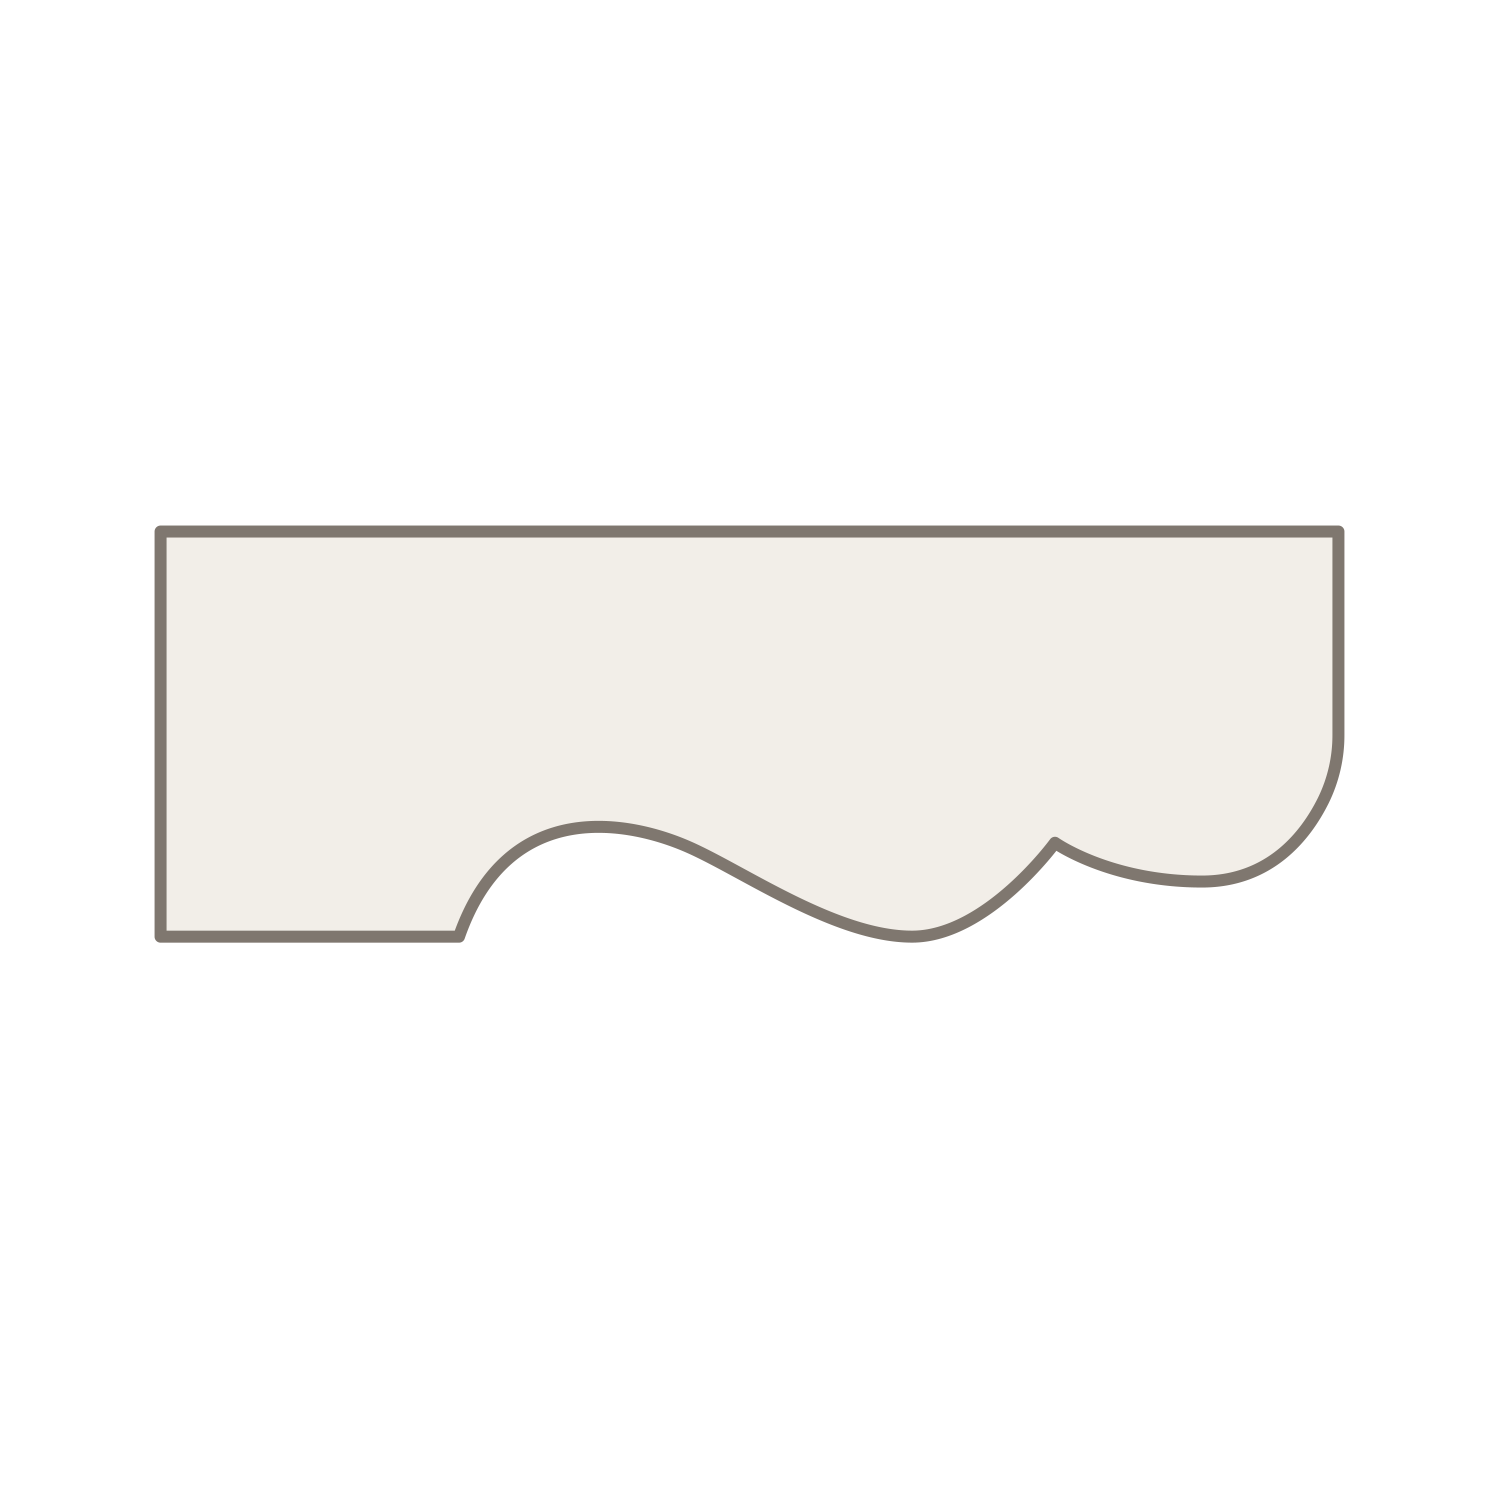
An architrave is the finished trim surrounding the outside of the window. Depending on the home, it may be flat, stepped, rounded or more decorative in profile.
For many outside mounts, the shutter frame fixes directly to the architrave. When that is the case, measure from the outer architrave edges rather than from the inside edges of the opening.
If the surrounding trim is difficult to identify, use the Guide to Architraves before choosing your measuring points.

Check for a Window Sill
A sill is the ledge at the base of the window. Because it often projects beyond the wall or architrave, it changes the lower reference point used for the shutter height.
With a sill, the bottom of the wall opening or architrave is not automatically the correct height reference. Depending on the mount, the shutter may finish on the sill or immediately above its top surface.
Use Window Sills & Shutter Fit Explained if you need help identifying the sill or selecting the correct lower measuring surface.

Inside Mount vs Outside Mount
After identifying the window, choose where the shutter frame will sit. An inside mount places the frame within the recess; an outside mount places it around the opening. The panels function similarly, but the frame position changes both the appearance and the dimensions required.
- Inside mount: the shutter frame sits inside the window recess.
- Outside mount: the shutter frame fixes to the architrave or wall surrounding the opening.
For a side-by-side comparison, read the Inside Mount vs Outside Mount: Which Fits Your Window? guide.

Choose the Shutter Mounting Position
Choose the mount by looking at the shape of the opening, the usable recess depth and the position of window hardware.
Inside mounting is usually suitable when the recess has enough clear depth for both the selected frame and free louvre movement without touching handles, locks, winders, flyscreens or other fittings. If the recess is shallow, crowded with hardware or awkward to use, an outside mount is often more practical.
Use the Handles, Winders & Other Shutter Obstructions guide to confirm the clearance required around your particular hardware.
Take the Recess-Depth Measurement
Take the recess-depth measurement from the window toward the front face of the wall. Use the shallowest usable depth you find, not the deepest part of the recess.
Check the depth in several locations because the frame, plaster and trim may not be parallel. Where hardware projects into the recess, measure only to the obstruction that comes furthest forward.
Measure Around Window Obstructions
If hardware intrudes into the recess, take separate measurements for the full recess and for the obstruction. The difference between them is the usable space left for the shutter.
- From the window, measure to the forward-most point of the obstruction.
- Using the same starting point, measure from the window to the front edge of the recess.
- Deduct the obstruction depth from the overall recess depth.
The remaining figure is the clear depth available behind the proposed shutter. Compare that result with the diagrams and highlighted clearances in Handles, Winders & Other Shutter Obstructions.
Set the Front Reference Plane
Use the front face of the recess as the reference plane and measure inward toward the window, keeping that same plane around the entire opening.

Common Window Obstructions


Typical obstructions include security boxes, locks, winders and handles.
Find the First Obstruction
Stop the depth measurement at the first handle, lock, flyscreen, mullion or moving window component that could interfere with the shutter. That point defines the usable depth.

Check Depth in Several Places
Check the depth near the top, centre and bottom on both sides of the opening. Use the shallowest clear reading when deciding whether the frame will fit.
Test the Window Operation
Operate the sash, handle and winder while checking the recess. Any moving component that enters the proposed shutter space must be treated as an obstruction.
Inside-Mount Measurements
After confirming that an inside mount will work, take the order width and drop. Because window openings are often slightly out of square, take readings in several positions instead of relying on one width and one height.
Use a metal tape measure and record every reading as you go. Supply the measured dimensions requested in the guide and do not apply your own manufacturing deductions.
Inside Mount: Square-Set Window
- Take the drop at the left, centre and right of the opening.
- Take the width at the top, middle and bottom of the opening.
- Submit the smallest width and the smallest drop from those readings.

Inside Mount: Window with Architrave
For an inside mount, ignore the outside edge of the architrave and measure the opening within the recess itself.
- Take three separate drop readings.
- Take three separate width readings.
- Submit the smallest width and the smallest drop from those readings.


Inside Mount: Square-Set Window with Sill
- From the top surface of the sill, take three drop readings up to the inside top of the recess.
- Take three width readings within the recess.
- Submit the smallest width and the smallest drop from those readings.

Inside Mount: Window with Sill and Architrave
- Starting on the top of the sill, take three drop readings to the inside top of the recess.
- Take three width readings within the recess.
- Submit the smallest width and the smallest drop from those readings.

Outside-Mount Measurements
An outside-mount shutter sits around the opening rather than within the recess. The reference points change depending on whether the window is square-set, surrounded by an architrave, fitted with a sill, or has both an architrave and sill.
For the outside-mount methods below, you will generally work from the largest of the three readings so the shutter frame fully covers the opening.
Outside Mount: Square-Set Window
A square-set window has no timber architrave surrounding the opening.
Begin with the inside edges of the square-set opening, then apply the specified shutter-frame allowance around those dimensions.
- Take three separate drop readings.
- Take three separate width readings.
- Use the largest width and the largest drop.
Without a protruding sill, add 42mm on every side. That adds 84mm to the overall width and 84mm to the overall drop.
With a protruding sill, add 42mm at the left, right and top only. The total addition is 84mm to the width and 42mm to the drop.


Outside Mount: Window with Architrave
Because many windows have an architrave, this is a common outside-mount method. Treat the outer architrave edges as the measurement boundary.
- Take three height readings from the outer edge of the lower architrave reference to the matching outer edge above.
- Take three width readings from the outer architrave edge on one side to the outer edge on the other.
- Submit the largest width and largest height from the readings taken.


Outside Mount: Decorative Architrave
With decorative architraves, grooves, curves or stepped profiles can make the outermost edge unsuitable for fixing the shutter frame.
If the decorative profile still has a continuous flat outer edge, use the standard architrave method. Otherwise, find a continuous flat section greater than 38mm wide; that mounting surface may sit on the inner, middle or outer portion of the architrave.
- Using the chosen flat mounting surface, take three width readings to the matching surface on the opposite side.
- From the same selected mounting plane, take three height readings between the corresponding upper and lower edges.
- For this decorative-profile method, submit the smallest width and the smallest height.
Keep the fixing plane consistent around all four sides. If the profile changes, no flat section exceeds 38mm, or the correct surface is unclear, send photos before placing the order and refer to Outside-Mount Measuring on Decorative Architraves.

Outside Mount: Window with Sill
Use the top surface of the sill as the lower height reference.
- From the sill, take three height readings to the upper outside-mount reference point.
- Measure width in three places.
- Submit the largest width and largest height from the readings taken.
For a protruding sill, add 42mm at the left, right and top. This increases the width by 84mm and the drop by 42mm.

Outside Mount: Window with Sill and Architrave
For a window with both sill and architrave, start the height from the top of the sill and use the outer architrave edges for the top and side reference points.
- Take three height readings from the sill to the outer edge of the upper architrave.
- Take three widths between the outer left and outer right architrave edges.
- Submit the largest width and largest height from the readings taken.

Plan the Shutter Panels
Wide openings are divided into multiple hinged shutter panels rather than one oversized panel. An individual panel can be manufactured up to approximately 900mm wide.
Uneven Window Panes and Multiple Panels
Where the window panes are not equal in width, custom panel positions can bring the shutter joins closer to the existing vertical divisions. Each panel must still stay within the manufacturing limits, including the approximate 900mm maximum width.
Set Custom Panel Positions
Custom panel positions are set by locating each T-post at the required cumulative position. Measure every T-post from the far left-hand finished-shutter reference point; do not measure individual panel widths from one join to the next.
- Inside mount: start the cumulative panel measurement at the inside-left edge of the recess.
- Outside mount on an architrave: start at the outer-left architrave edge.
- Outside mount without an architrave: start at the left-hand outside-mount reference point used for the shutter width.


Plan the Midrail
A midrail is the fixed horizontal member separating upper and lower louvre groups. Where the shutter design permits, you can specify as many as two midrail positions.
If the window already has a horizontal pane division or transom, positioning the midrail on that line will usually give the neatest appearance.


Record the Midrail Height
Record each midrail position from the lower shutter reference point up to the centreline of the required midrail.
- Inside mount: take upward from the inside bottom of the recess.
- Outside mount: measure upward from the same lower reference point used for the outside-mount shutter height.
- Second midrail: keep the same bottom reference and measure directly to the centreline of the second midrail.
During manufacture, a requested midrail position may shift by approximately ±15mm so the louvres can be divided evenly. If the location must be exact, mark the midrail as “Critical”; the top and bottom rails may then be adjusted and may finish at different sizes.
Also consider normal eye level when choosing the midrail location. Depending on the viewing position and person’s height, setting it slightly above the window mullion can improve the sightline.


Ready to Enter the Shutter Order?
Once the measurements and layout are confirmed, enter them on the plantation-shutter product page.